Thursday, February 23, 2012

Church Nursery - Part 4 of 4: The Results

Here are the results!  Make sure you view Part 1, Part 2, and Part 3 first...

We loaded 84 boxes into the nursery in all.  That's 84 buckets, one label for the front, and one for the back... plus all the other labels, and that's a lot of labels!

Adding matching buckets, and coordinating (black and white) homemade clipboards made the nursery have a clean look.


We added the new coloring sheet filing boxes to the counters in the three oldest classrooms.

Everything was neatly placed INSIDE the changing table and the changing table can actually be used solely as a changing table!

Labels were added to the outside of cabinets to contain larger toys.

At the nursery director's request, we wanted to create a system to keep the toys cleaned on a regular basis.  Thus, she added a cleaning bucket and towel to be kept in each room.  On a rotating schedule, the toys will be cleaned, rinsed, and dried overnight.  The next day, the next rotation of staff will replace the toys in the correct bin.

Also, at the director's request, we created a standardized way of putting tools away.  This way each rotation of staff, despite what class they are in, will know where the tools are.

One classroom did not have the cubbies where we could put the standarized black and white tubs.  We used the Sterilite Latch Boxes (of various sizes) in this cabinet, instead.
Remember the cribs that were filled with large toys in the "before" part?  Check out how they can now be used for slumbering children!
Finally, we made sure we had a labeled place for a first aid kit in each room.
This project took a total of 4 working days (approximately 5 hours each) plus shopping and prep work.

Tuesday, February 21, 2012

Church Nursery - Part 3 of 4: The During

Once we looked at it and discussed it (Part 1), and prepared for it (Part 2), it was time to work on it... thus, Part 3!

We're in!  We piled everything in a (not being used at the time) classroom and got to work filling the bins.

Play-doh, diapers of specific sizes, dot markers...

sidewalk chalk...

... and new crayons!!!
We took all of the plastic balls, toys, little people, and "food" and gave them a bleach bath, through rinse, and dried them on towels overnight.

If you give your toys a bath, be sure to "stir" them while drying every now and then so that you aren't pooling any water in one space (note the legos that are upside down...)

The next day we sorted all the toys based on age appropriateness and what they had in their rooms. 
(Do they have a kitchen?  Are there baby dolls available?)

Mega blocks, for example, were distributed evenly to three different rooms.
Once the bins were filled, we distributed outside each room, and then started filling the rooms in a standardized way.  This way, when a nursery worker goes from one room to another, things are easy to find.  (Check out Part 4... coming soon!)
We hung the new clipboards, too.

And started to fill in the cubby spaces.

Part 4 is coming soon... check out our conclusion!

Remember, you can always email me if you have questions you would like me to research or ideas you would like me to share!

Wednesday, February 15, 2012

Church Nursery - Part 2 of 4: The Prep

So after we looked at the existing nursery (see Part 1:The Before), I sat down with the nursery directory to go over budget, expectations, and times that we could work.

Because it is a working nursery - meaning there are people in and out of it all the time, we had to dodge that a bit.  I did as much prep work as I could at home, and then we moved in (and hid in an unused classroom).
Step One: Fight with label maker (apparently my roller was sticky, because after I cleaned it (and printed the label, "HELP!", in desperation) it worked.
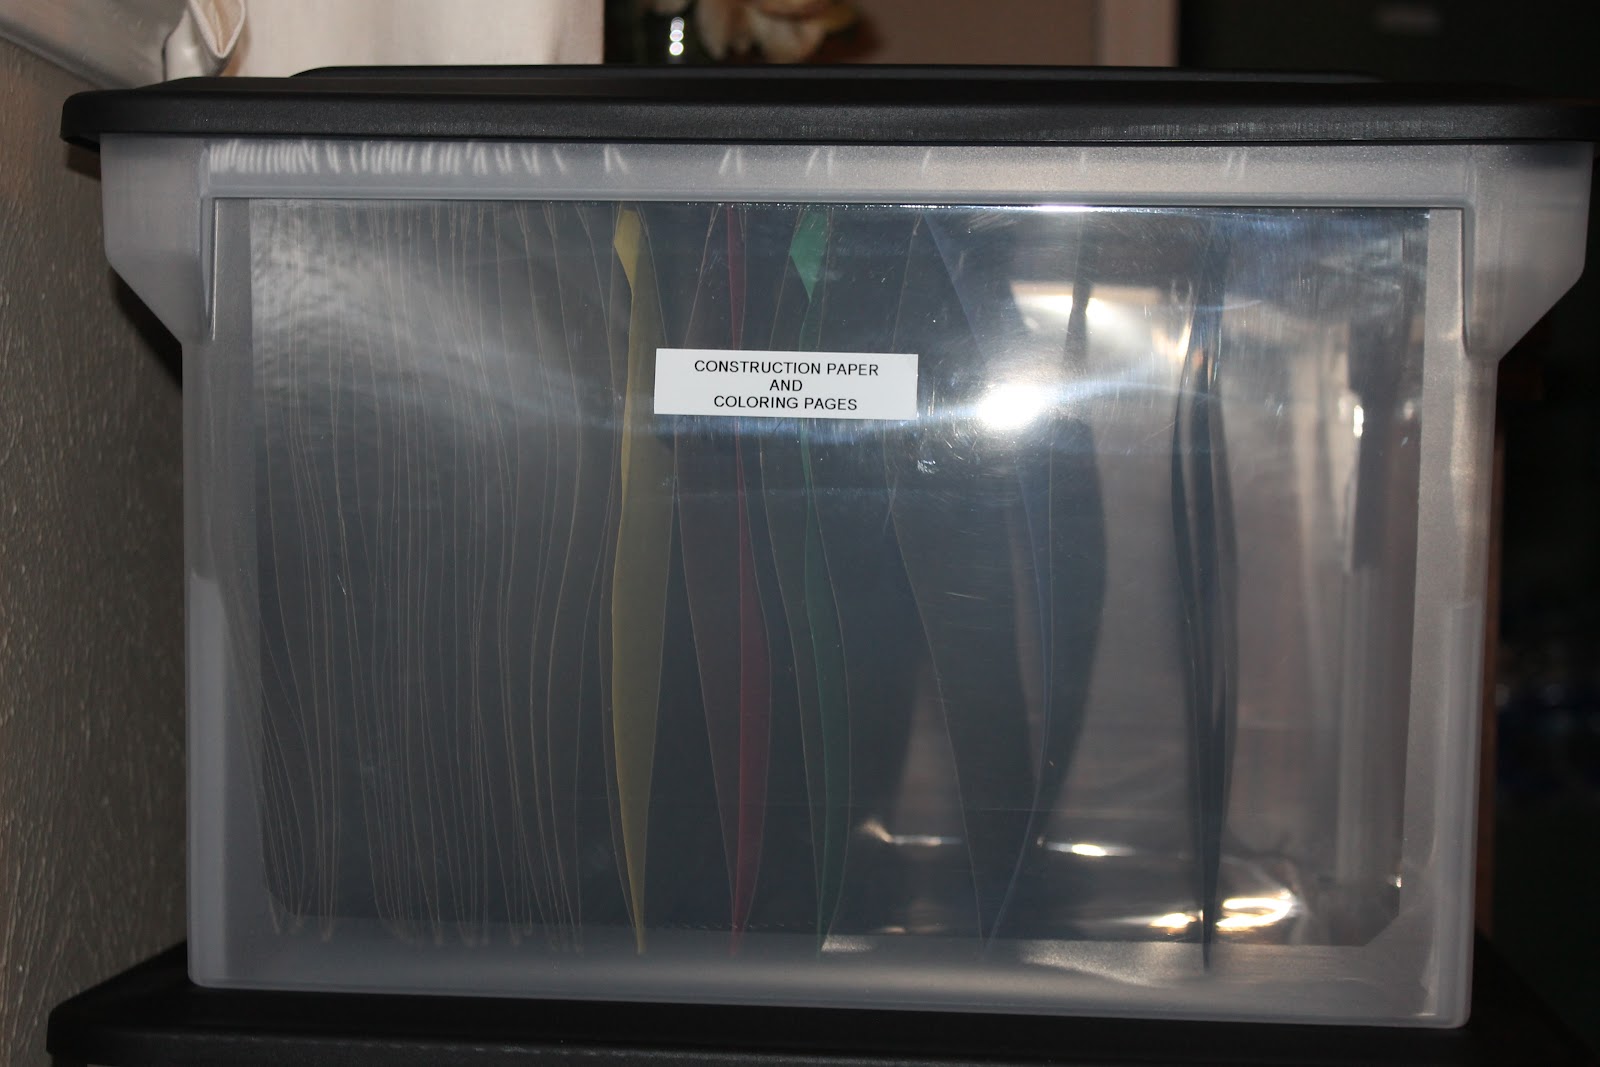
Prints lots of labels.  One item that we decided the "older" classes needed was a place to store coloring pages and construction paper.  For three rooms, we made labels, folders, and file boxes.


I needed some crafty help - in the name of my friend, Brandi.  She's handy, crafty, and just the right person to help me make eight (!) clipboards for the classrooms.  Thanks to a few tips from Pintrest, check out how well they turned out! 

Also added some crafty little pens (a pen, some electrical tape, and a fake flower) so the pens in the nursery wouldn't "run" off accidently.

All different, but all black and white, to match our Container Store boxes.
5 Walmarts (I love the Sterlite Modular Latch Containers) later I had all my boxes and got set to label...

...and label...

... and label ...

... and stack ...

... and stack higher ...

... and to try to get creative in how I photographed my stacking ...

... until I was done.  Then it was compression time, time to stack within stacks, so that it could all fit in my car (with my and my 2 assistants... er, kids)

I was 100% looking like a container hoarder when we loaded up Sunday night to begin work Monday morning...


Tune in next time for Part 3 of 4: The During!

Friday, February 10, 2012

Church Nursery - Part 1 of 4: The Before

I love this church - and the nursery is where my kids began any "formal" education.  It was the first place I every dropped off my kids and left them in the hands of a stranger.

But, the place needed some updating. A few years ago, the nursery did a massive makeover: painted the walls, got a new technology system, etc. What they needed now was a reorganization.

This 8 room nursery took the nursery director and I nearly 5, 5 hour days to complete (after the shopping and prep work.)  This first part of the blog shows you what I started with.

In a working church nursery, cubbies aren't being "owned" by a specific child, and therefore don't need to be open to use by the children.  Diaper bags can be placed on the hooks below for storage.  The cubbies are needed for neatly storing toys, teacher items, and cleaning supplies.

Many of the toys found in this closet (there is one closet for every other room in this nursery) were not known to even be there.  We actually made the plan to remove the toys from the closet so that they could be accessed by the children.

This room had large toys on the top of the cubbies, but the "accessories" were no where to be found.

Without a proper place to store toys, things were placed on top of changing tables for storage.

Cleaning supplies were left in cubbies - safely out the way of children, but using valuable space.

Some rooms had lots of toys... other's had a few.

Cabinets and storage in general was already plentiful.  It was just illorganized and underutilized.

Baby Cages... no, not really really cages, but cribs were being used for large toy storage.

One room, used as a secondary room for babies, was being used more as a storage facility.  As toys came in (donations, purchases, etc.), they were placed here with really no place to go.  They needed to be cleaned properly, and placed in the age appropriate room.
Tune in next time... for part 2: The Prep